How I take and edit my portrait

I shared a
post on December about "How
to feel more comfortable in front of the camera”. I talked about finding your best angle and a style that you like. The stats showed that it's received unexpectedly well, which is quite... unbelievable.
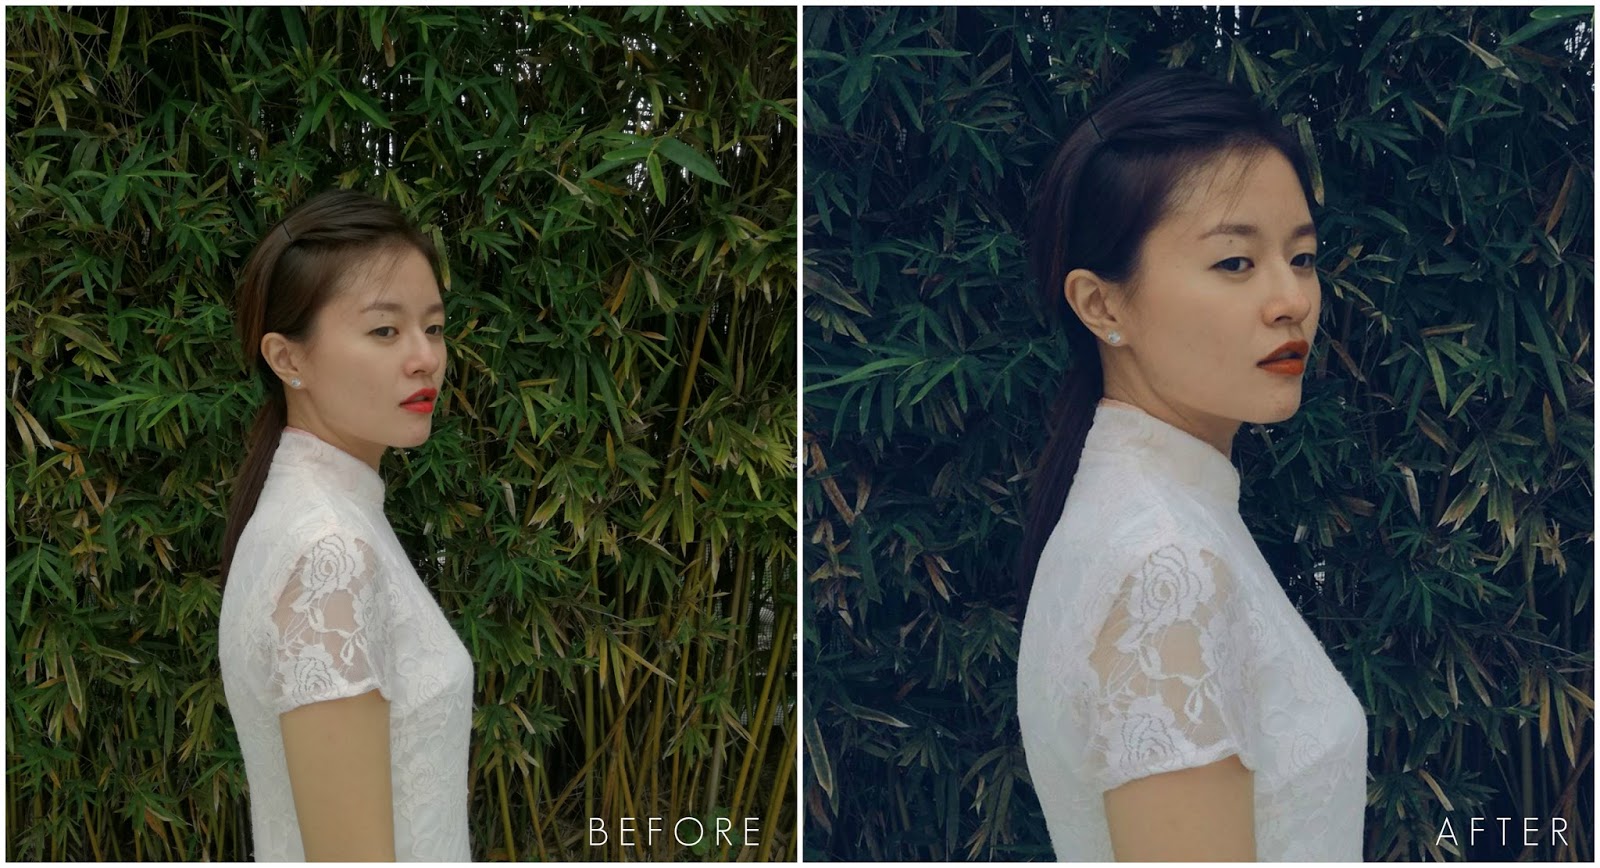
Today I’ll try to explain step-by-step on how I take my portraits. Some of my friends thought that having a DSLR with a good portrait lens (35mm) is a must, hmm yes it's really useful, but you can also take a good one using your phone. This portrait was taken with my Huawei P9 Lite and the outcome was pretty decent. Let’s get started.
1. SET A THEME
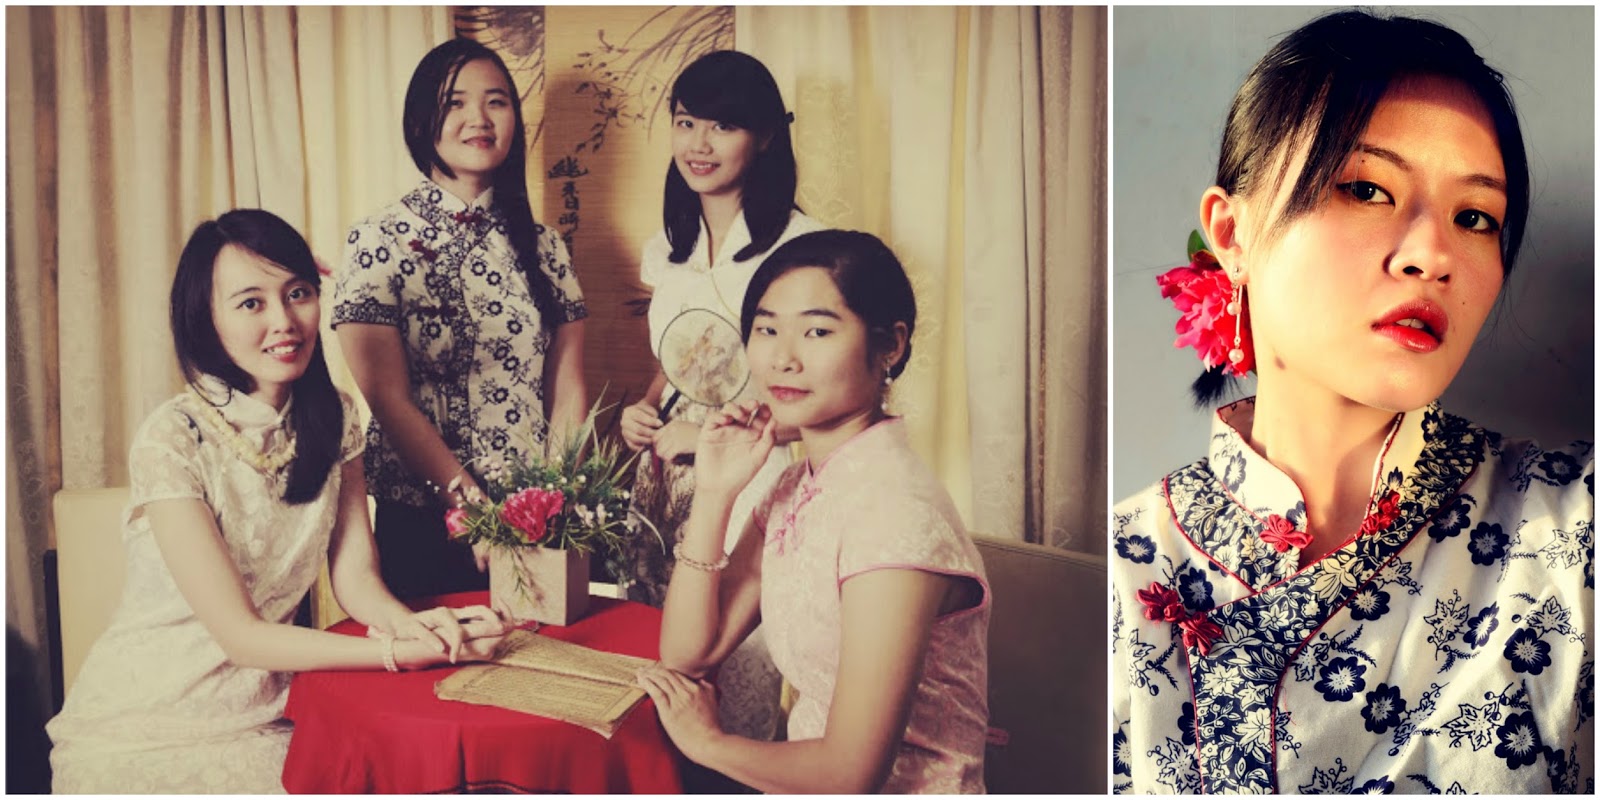
For this post, I chose my favourite theme - the Oriental to show you. I'd done some portraits of myself or friends in cheongsam before (Portraits of the Ladies and Oriental). It's our tradition to wear cheongsam (or qipao) every Chinese New Year. This outfit is very flattering and makes a woman more sophisticated and elegant (*wishful thinking*).
Of course you can also set a minimalist, natural, colorful, happy family or romantic couple theme. Why do you have to set a theme? Is it necessary?
Of course you can also set a minimalist, natural, colorful, happy family or romantic couple theme. Why do you have to set a theme? Is it necessary?
2. Choose your outfit
By setting
a theme, you know what outfit you are going to wear, how you will take and edit the photos. In most of my portraits, I’m wearing white or light-colored outfit not only because they're simple to mix and match, they make you look good in any occasion or
backdrop too. This also applies to travel photos. I think wearing light-colored outfit can easily help me to create outcome that I want.
This trick also
applies to the uber popular OOTD shots, if you have a theme, be it a simple, glamorous or cool theme, you know where to find the right
background and how to edit your photos.


3. Find the
right backdrop
For this qipao look, I wanted to
create a mystical, cool and vintage portrait (*wishful thinking, I hope I did*). I know that my facial features
work better with this direction, instead of trying hard to look bubbly, cute... and horrible. All in all, a minimal and clean backdrop is ideal.
My sister
Wai Shan took these photos for me. The first portrait with a wall of Chinese calligraphy
behind me was fine, but it doesn’t really
give the cool vibe I was looking for. And it was shot against the light and hence slightly dark. For the second one, I wanted to have a monochrome
portrait but it looks very stiff and… scary. Toooo cool for a Chinese New Year portrait, ha.
The
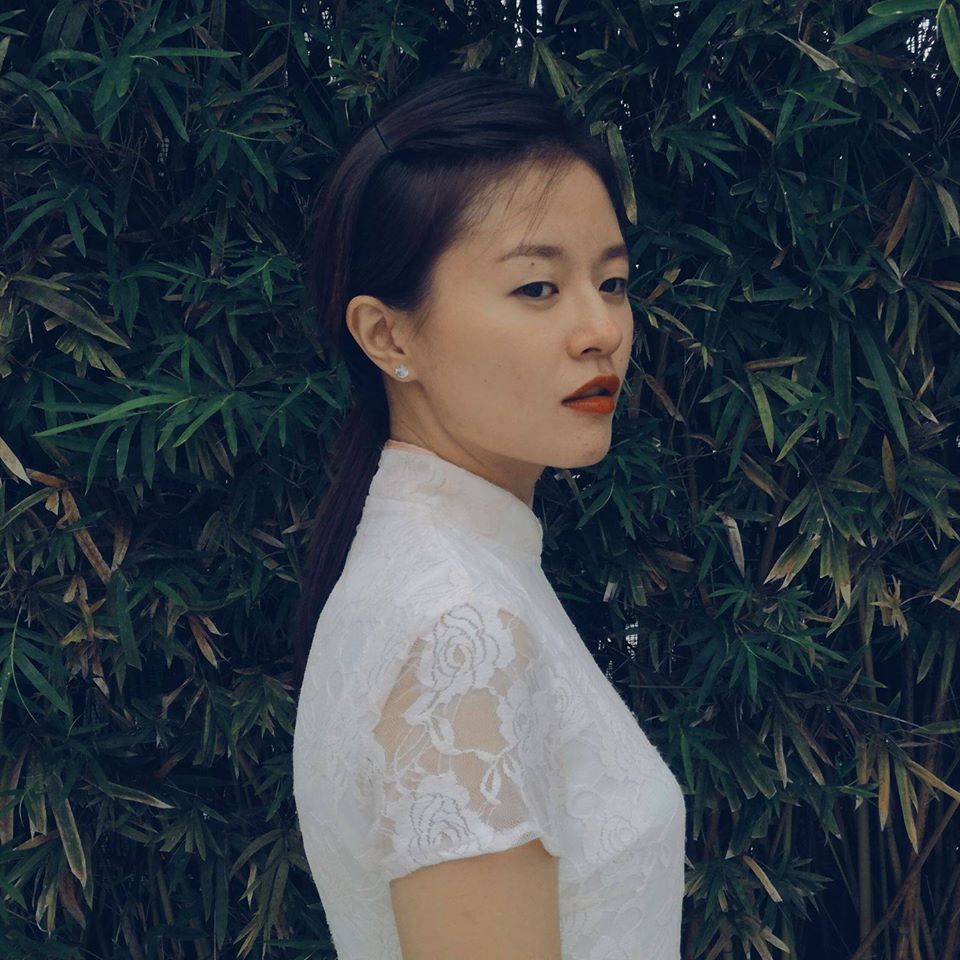
third one was the best. I stood right in front of a row of green bamboo leaves.
It’s simple and minimal, yet the leaves add interesting surface and texture to the photo, and the portrait doesn't look too flat.
You can try this for your own headshot. Play with these few options: stand in front of a plain white wall, a wall with patterns or a wall of plants. You'll notice a huge difference on how each of them give different feel to your photos and which one actually complement your face.


4. Edit
photo with the right filter
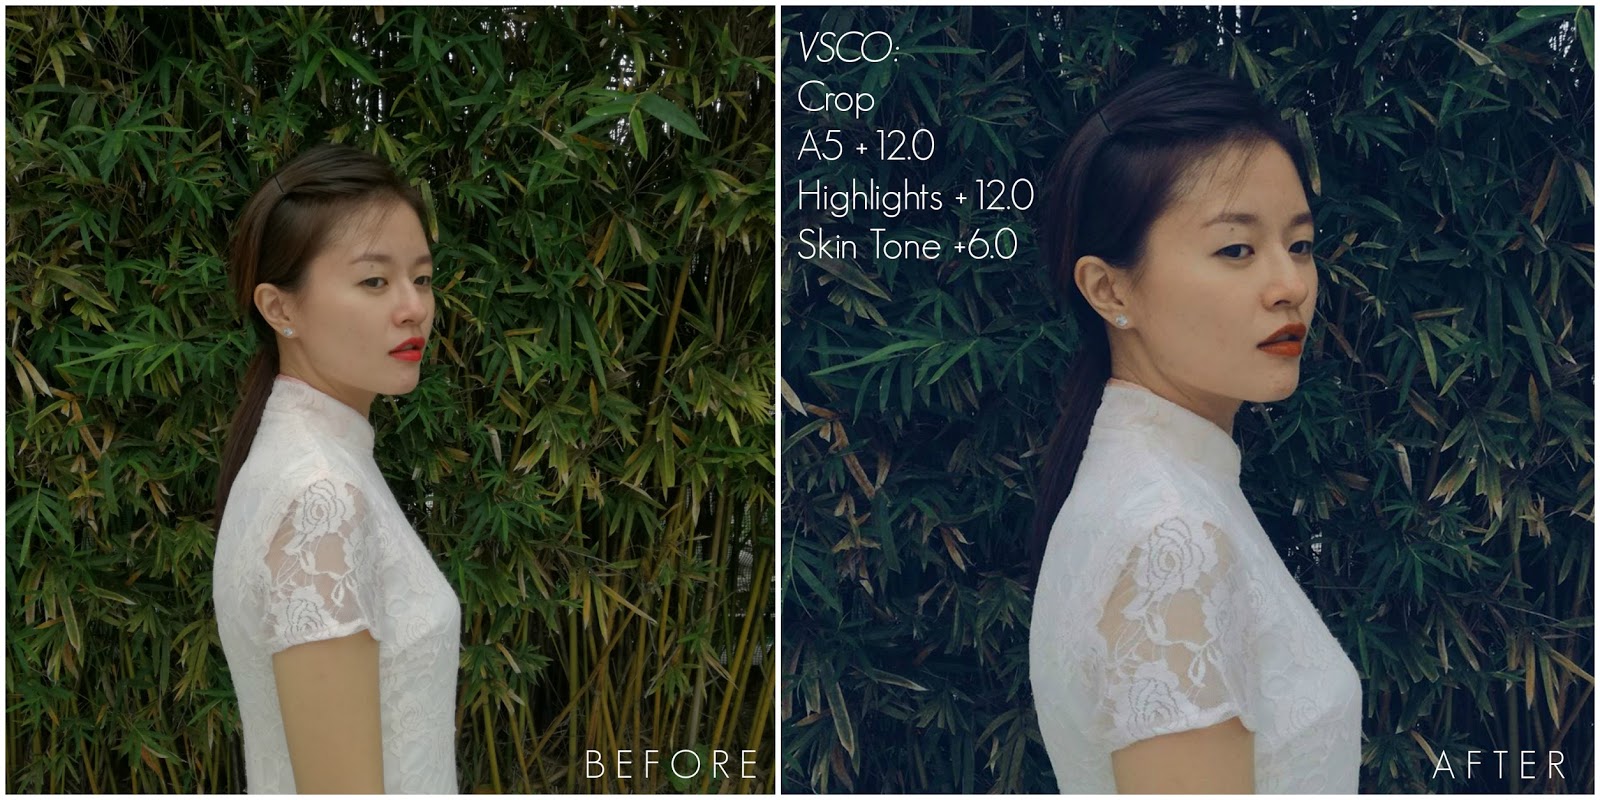
Sometimes adding photo filters does wonders. I use the super popular VSCO
app for most of my photos. The filter I used for this one is A5 Analog, and I adjusted Highlight and Skintone.
For Wai Shan's portrait, I used the same
technique for her portrait too. She used HB2 +12.0 filter, which makes the
colours more saturated. You can see how different filters give different feel to the photos.
Other apps that you can use for portraits are Facetune (to adjust skin tone) and Cymera (to liquify). Of course you can also use super-surreal editing apps like Meitu, Snow and Snapchat to look like a porcelain doll. Just play with different filters and see which one you like best.


Shan, VSCO HB2 filter.
Keep playing. Trust me, it's easy. If you have any question, ask me in Facebook.
Initially I wanted to make a video of these steps to give you a better idea, but I don’t have the equipment and editing skill to make a decent tutorial. If any videographer is kind enough to collaborate with me, drop me an email: haha@evetopia.com.
Hope this post helps you to take photos that pleases you. Have fun experimenting! ❀


